Klee Prank Adventure
Play Klee Prank Adventure
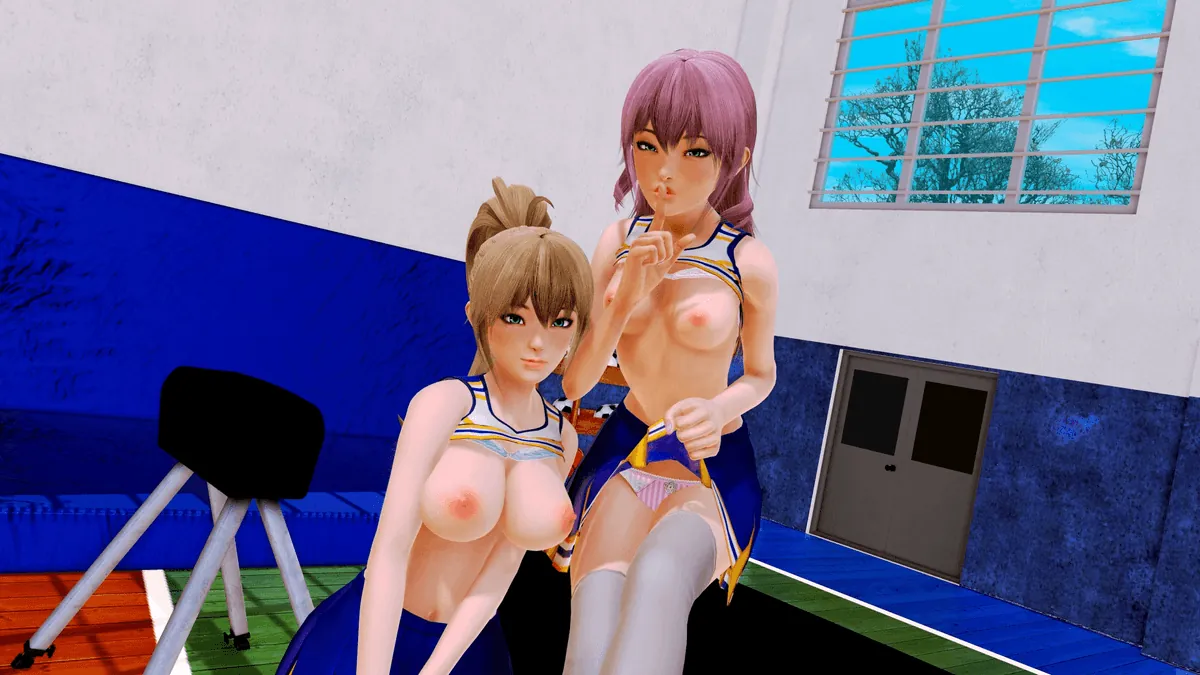
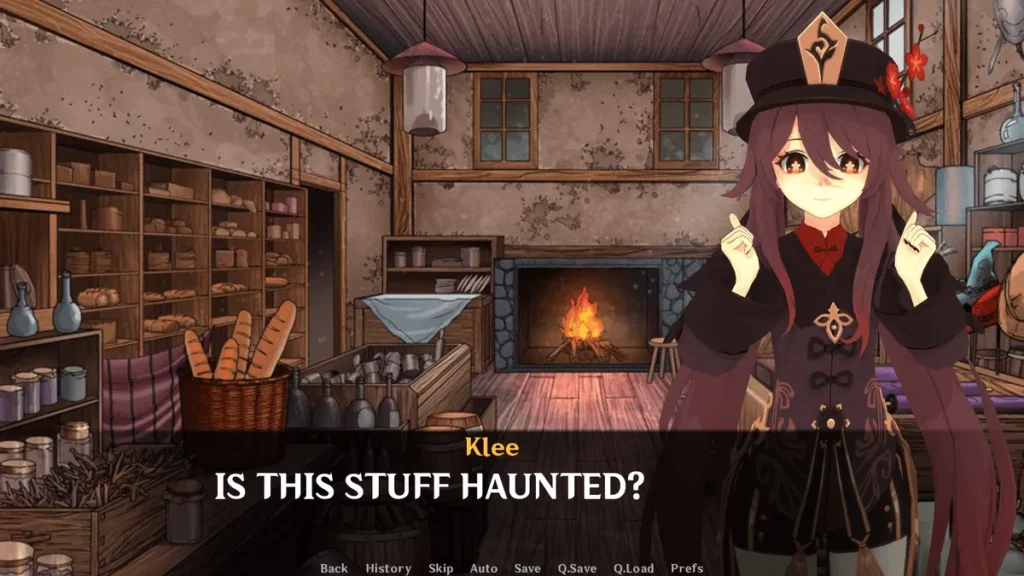
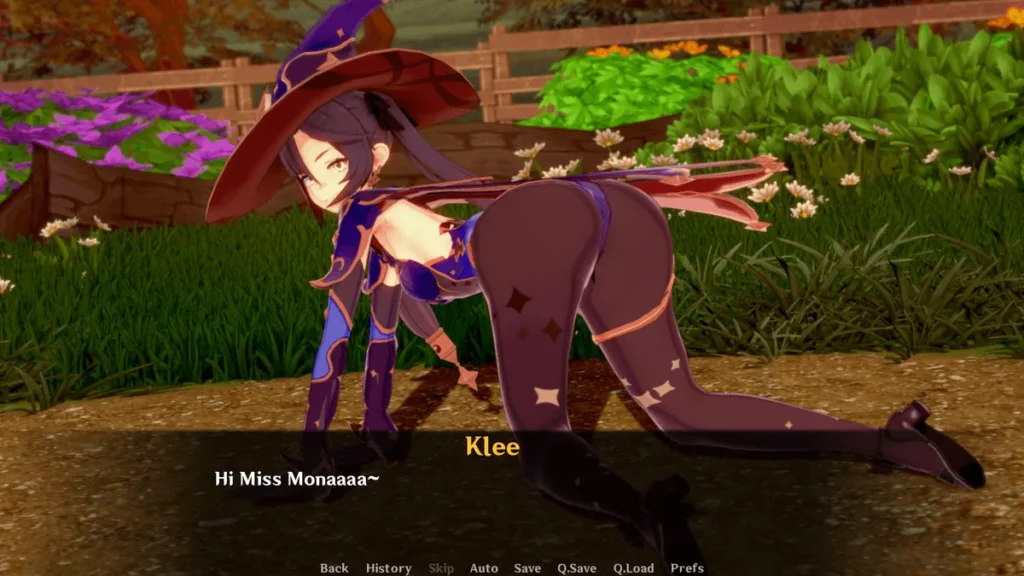
Klee Prank Adventure Screenshots


Klee Prank Adventure review
Master Every Prank and Unlock All Secrets
Ever wondered what happens when Klee from Genshin Impact turns her mischievous spark into a full-blown Klee Prank Adventure? I remember my first dive into this cheeky visual novel RPG – camera in hand, sneaking snaps of Mondstadt’s finest for quick mora, all to fuel the ultimate payback on Jean. It’s a wild ride of pranks, hidden scenes, and steamy encounters with favorites like Lisa, Mona, and Barbara. Whether you’re grinding for tools at the Junkshop or plotting the Grand Opening, this guide hooks you up with pro tips to conquer every challenge. Stick around, and you’ll unlock it all without missing a beat.
How to Dominate Klee Prank Adventure Gameplay?
Let me paint you a picture of my first five minutes with Klee Prank Adventure gameplay. I was so excited, I just mashed buttons. I saw Klee bouncing around, I clicked everything, and I completely missed the tutorial prompts. The result? I spent 20 minutes running in circles outside the Cathedral, unable to figure out how to even open the map. I was ready to quit! 🥲
But then I took a breath, actually read the hints, and everything clicked. The difference between fumbling in the dark and mastering the pranks was like night and day. This chapter is here to save you from that same frustration. I’ll break down the core mechanics so you can dominate the Klee Prank Adventure from the get-go.
Mastering the Map and Basic Controls
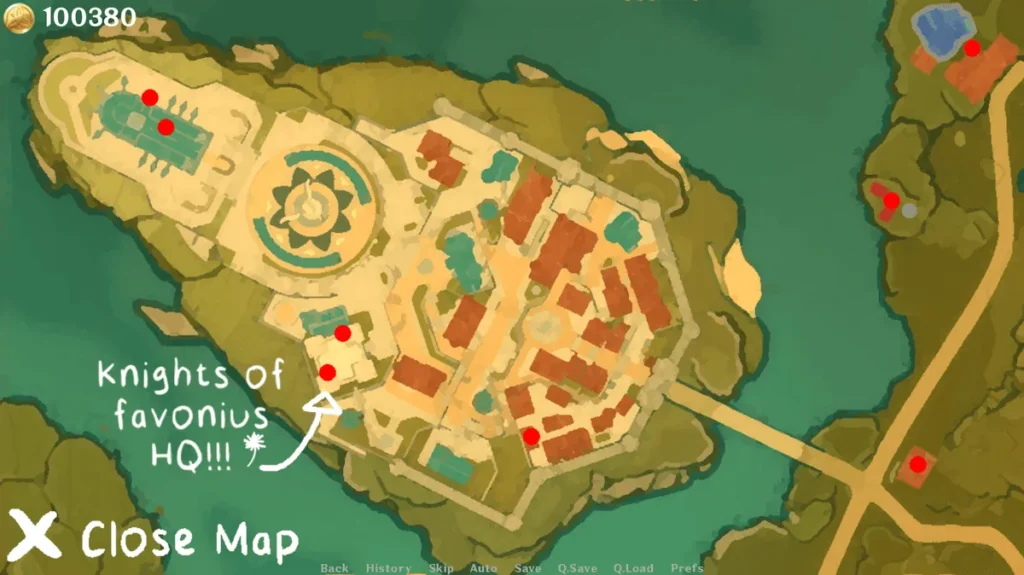
Think of the Klee Prank Adventure map as your prankster command center. My early mistake was ignoring it, but it holds every secret. Here’s the golden rule: always know what each button does. Your screen has a few key icons, and understanding them is 90% of the battle.
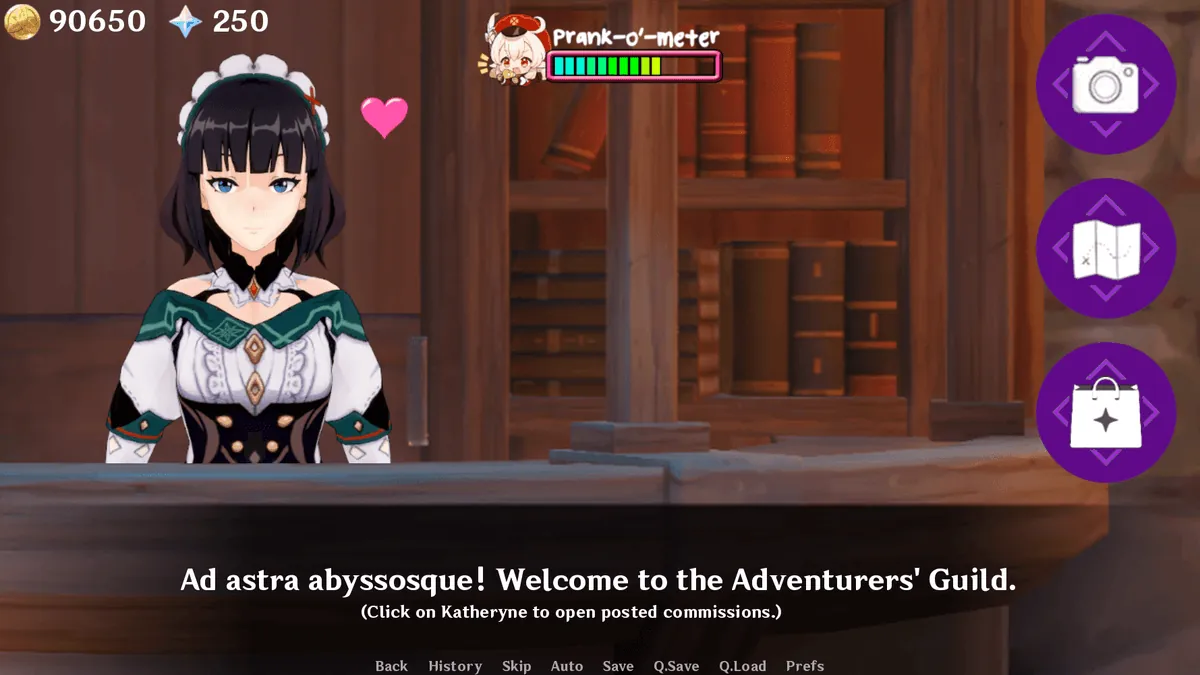
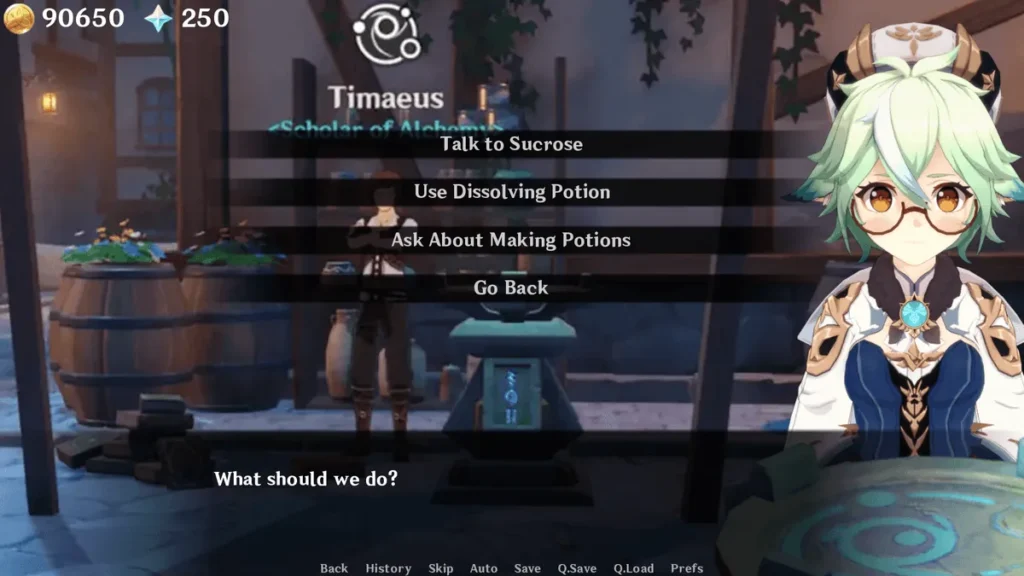
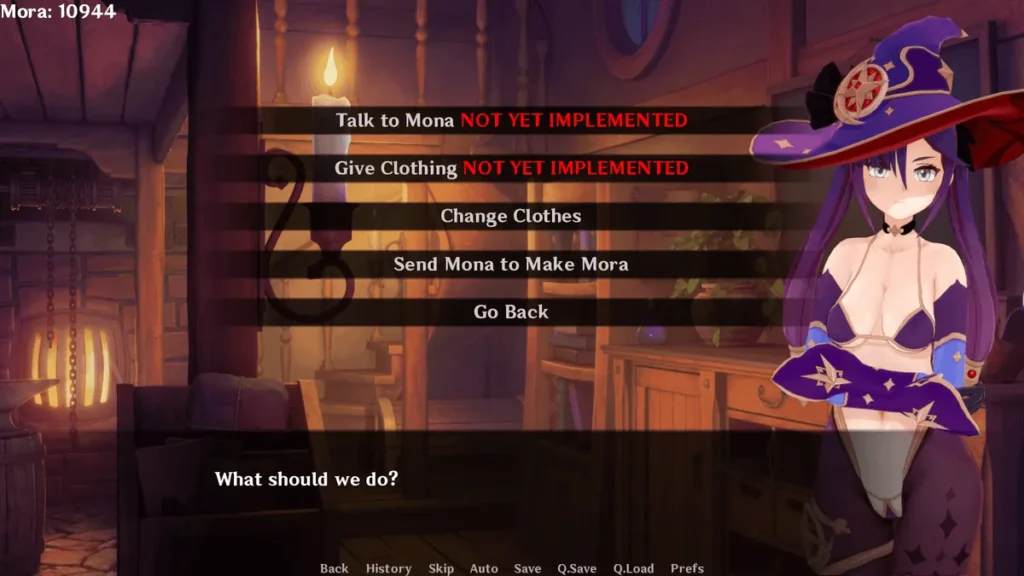
At the top, you have your camera button for sending pictures to Dion (more on him later). The metal-looking button in the upper-right? That’s your full map view—click it often! The bottom-center button opens the Junkshop tools Klee Prank Adventure menu. And your current location and objectives? Always check the top-left mirror.
The map itself is your best friend. Red dots signal active prank locations or characters you can interact with. Hover over them! Sometimes a location won’t unlock until you’ve completed a prerequisite task elsewhere. The world opens up progressively, so if you’re stuck, check your Adventurer’s Guild button for potential new leads.
Here’s a quick-reference list of your core navigation controls:
- Top Camera Button: Takes you to your photo album and Dion’s task list for Klee camera tasks.
- Metal Button (Upper-Right): Opens the full interactive world map.
- Bottom-Center Bag Button: Accesses the Junkshop to buy essential tools.
- Top-Left Mirror: Shows your current zone and active objective.
- Red Dots on Map: Interactive prank spots or key characters. Hover for details!
Mastering this interface is the first step to smooth Klee Prank Adventure gameplay. It stops you from wandering aimlessly and lets you plan your prank route efficiently. 🗺️✨
Grinding Mora with Camera Tasks
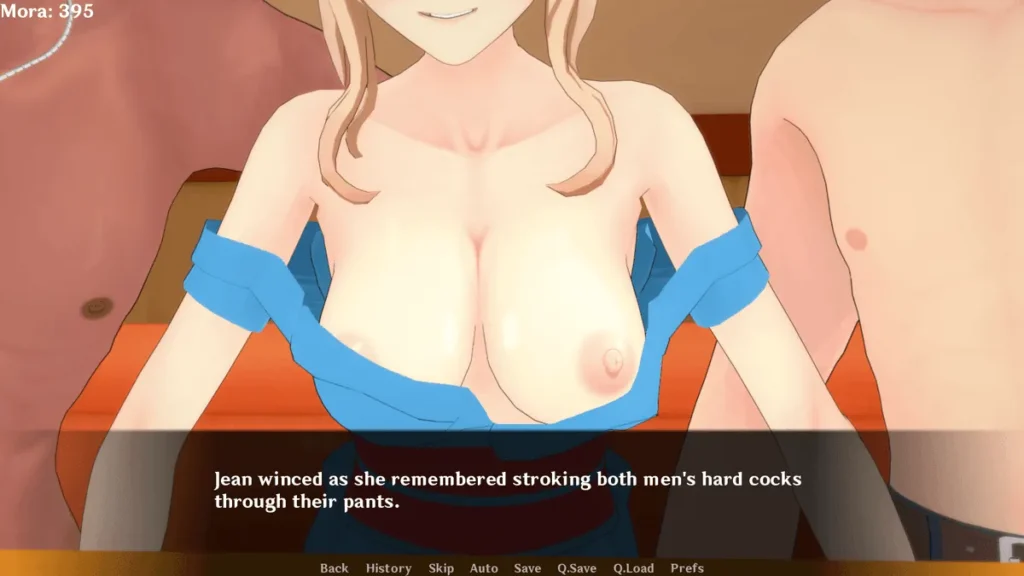
You can’t pull off the best pranks if you’re broke! Early on, you’ll need a steady flow of Mora to buy tools from the Junkshop. This is where knowing how to grind mora Klee Prank Adventure style becomes essential. Forget fighting monsters; your camera is your money-maker.
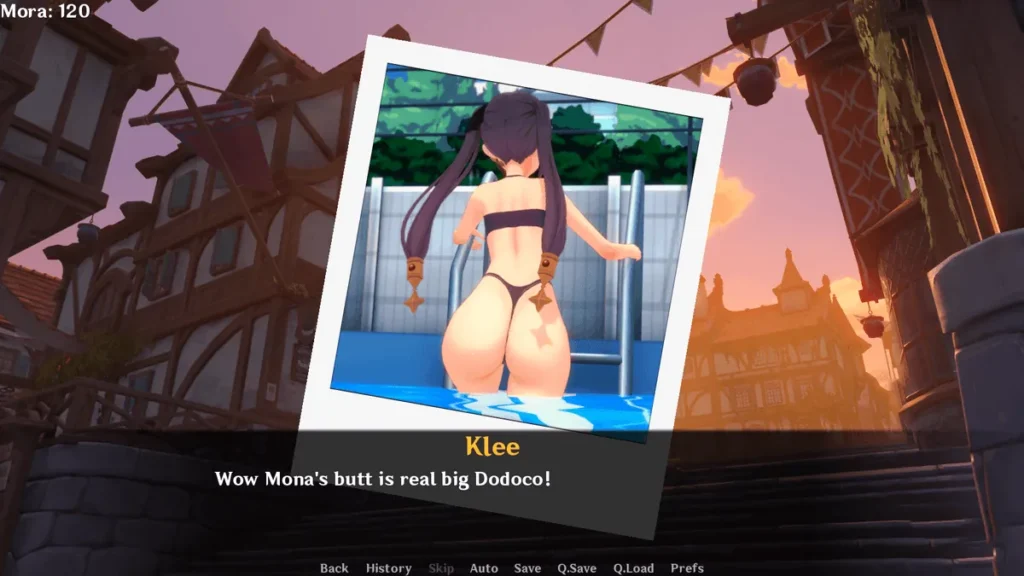
Remember Dion? That’s your guy. He’s always looking for “candid” photos from around the city, and he pays handsomely for them. These are your Klee camera tasks. Open your camera album, view his requests, and get shooting! The payouts are your primary early-game income.
The best early grinding spots are the Shower Room and Private Areas. Access is usually straightforward. Once inside, look for the purple interaction button. This often lets you peek or find a specific angle that satisfies Dion’s request. For example, one of my first tasks was getting a shot in the Shower Room. I messed up the angle, got a generic shot, and earned peanuts. When I re-did it and used the purple button to get the specific peek Dion wanted, the Mora reward tripled. 💰➡️💰💰💰
Pro Insight: After completing a major story prank, immediately switch to doing a few camera tasks. This refills your Mora reserves for the next big tool purchase and keeps your progress flowing.
To help you plan your grinding sessions, here’s a breakdown of the best early-game spots:
| Location | Access Method | Payout Potential & Notes |
|---|---|---|
| Shower Room | Usually unlocked after first Cathedral visit. Look for the open door icon. | High. Dion often requests specific “steam obscured” shots here. Consistent earner. |
| Private Areas (Various) | Unlocks as you progress the main map. Often requires no tools. | Medium to High. Tasks vary, but pay attention to the photo description for exact requirements. |
| Cathedral Main Hall | Always open from the start. | Low to Medium. Good for very first tasks, but quickly outpaced by other locations. |
This systematic approach to completing Klee camera tasks ensures you’re never stuck unable to afford that crucial Drill or new outfit.
Unlocking Key Locations Like Hot Springs
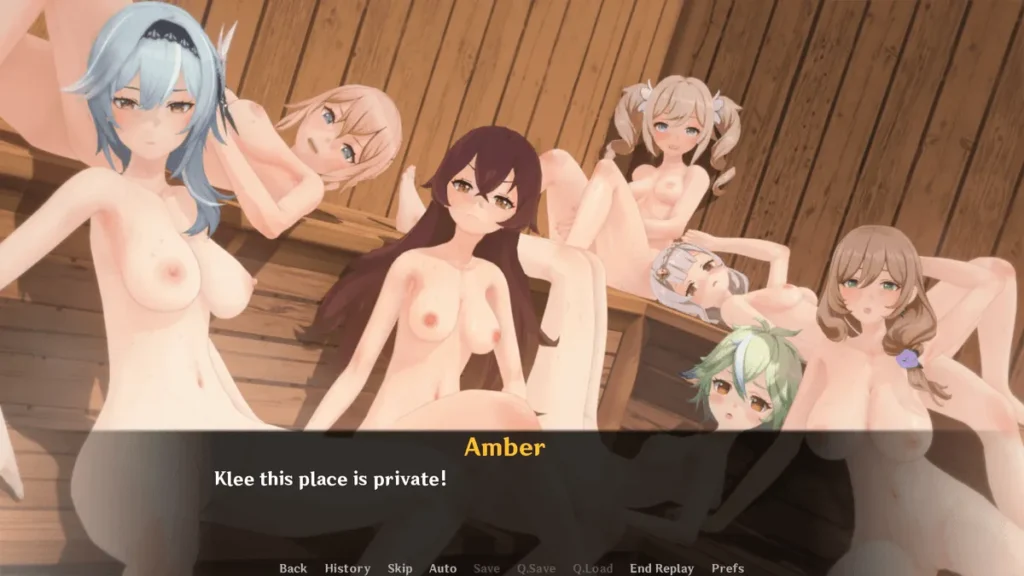
This is where the Klee Prank Adventure gameplay really opens up. The Hot Springs Klee Prank Adventure zone is a masterpiece of chaotic fun, but you need to unlock it first. Progress through the main story pranks around Mondstadt, and soon enough, a new path on your map will lead you to this luxurious (and prank-filled) location.
Once you arrive, it’s a playground. Each character here has a specific prank sequence. Let’s break down the classic attacks:
* Barbara (Jacuzzi): You’ll need to snag a polaroid first. It’s usually hidden nearby. Find it, then use it at the right moment for a classic bubble surprise.
* Lumine (Selfie Spot): This one’s about timing. Wait for her to start admiring the view, then trigger the prank for a perfectly startled selfie.
* Rosaria (Relaxation Nook): A more direct approach. This one ends with a satisfying K.O. scene—just make sure you’ve cleared the area first!
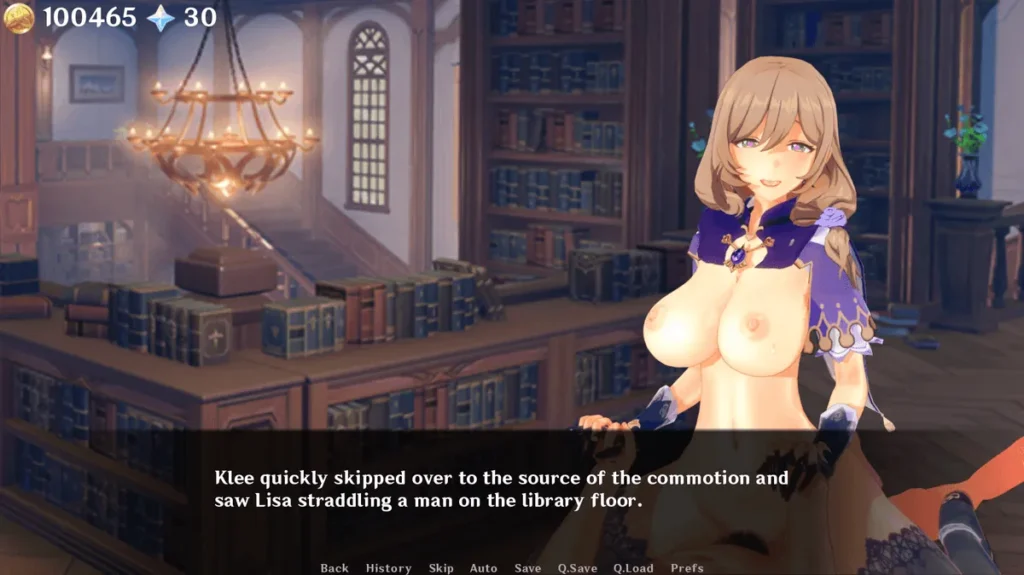
* Lisa (Quiet Corner): Requires a bit of setup, often involving a misplaced book or a tickling tool from the Junkshop, leading to some playful tit-for-tat.
* Fischl (Private Bath): This is an ENF-style scenario. The key is staying completely hidden until the very last second for maximum effect.
But before you even get to the Hot Springs, there’s another iconic location to unlock: the Cathedral peephole. Wondering how to unlock peephole Klee Prank Adventure? It’s a rite of passage. First, you need 300 Mora. Then, head to the Junkshop tools Klee Prank Adventure menu. Buy the Drill. This is your key tool. With it in your inventory, go to the specific spot on the Cathedral wall (it will glow when you’re near). Use the Drill, and a whole new world of observational “research” opens up. 🔧👀
A huge tip many players miss: Outfits trigger events without you needing to wear them. Simply acquiring them from the shop or as rewards can unlock new interaction options or dialogue branches on the Klee Prank Adventure map. Always check your inventory after a big purchase!
My final piece of actionable advice? The game’s loop is designed as: Prank -> Grind Mora/Tasks -> Unlock New Tool/Area -> Repeat. Don’t blow all your Mora on one thing. After a big prank at the Hot Springs Klee Prank Adventure, go back and grind a few camera tasks. This steady rhythm is the true secret to mastering the flow and unlocking all the secrets this hilarious adventure has to offer. Now go out there and cause some beautifully orchestrated chaos! 💥🎉
There you have it – your roadmap to owning Klee Prank Adventure from sneaky polaroids to epic pranks on Jean and beyond. I still chuckle thinking about that chaotic Hot Springs frenzy or finally cracking Lisa’s quest. You’ve got the tools, tips, and tales to dive in, grind smart, and savor every unlock. Fire up the game, snap those shots, and let Klee’s antics light up your screen. What’s your first prank target? Drop your wins in the comments – happy adventuring!